Kitchen Living Room
Showing posts with label renovations. Show all posts

Saturday, May 12, 2012

Skeleton Key!

Since I read every single Nancy Drew as a child, I've always been interested in mysterious things like old photographs! and hidden rooms! and secret passageways! and secrets!


At some point I heard about the concept of a "skeleton key" which of course I took literally.

Skull (somehow the entire skeleton dropped out at some point) + Key = Skeleton Key!

Although I later learned through much frustration that it was not in fact as I pictured! A skeleton key was really just a key that could open many doors. Arrghh! Much less creepy! But this gets me to my 650 square feet related point. I want to be able to lock/unlock my bedroom door and bathroom door with a key. Why? Because it would be COOL.


I have old glass doorknobs on both doors. They have keyholes. So far so good! I just need a key. I did some research online and found this thread

It sounds like you can go to Home Depot and buy a skeleton key that might work.
Home Depot sells skeleton keys. We recently needed a second key for a lock like that (60 years old) and the one we bought at HD worked perfectly.
posted by kimdog at 7:15 PM on May 1 [1 favorite]
It MIGHT work? Well, you know I'm game. So I guess sometime soon I will be exploring the fine world of locksmithing. What's that? You think I should just grout the other side of my kitchen? YOU'RE NO FUN.

Friday, May 11, 2012

Spiders, Water, & New Windows

While I was doing the inspection with the inspector a few weeks before I bought the place, we noticed (it was pouring rain) that water was leaking inside the condo through the cheap aluminum windows in the bedroom. So you're probably thinking, "And you still bought the place?!" BUT, but, it's OK to buy a place with defects, you just have to know what you're getting yourself into. Hence the inspector. 

One of the first nights I stayed in the condo, a huge spider sauntered out of the side of the bathroom window and greeted me. That was awful. So that's how I decided which three (I have six) windows to replace FIRST in the condo. The two aluminum ones and the one original one in the bathroom. Aka Water 1 Window, Water 2 Window, and Spider Window. I also knew I would probably have to open the window during showers in the bathroom due to the lack of an exhaust fan and I didn't want to wrestle with a stuck window every time (that was before I bought Eva the dehumidifier.) 

So last October (in 2011), I had those three windows replaced in the condo. They were ordered over Labor day weekend in September because Home Depot had a great sale going on. The entire process takes weeks though, so they weren't installed until about a month later. Here's the process we took:
  1. Visited Home Depot to speak with the sales representative and setup an appointment for her to come to the condo.
  2. The sales representative visited the condo and measured and provided a total price. At this meeting any decisions about styles/quality had to be made. We paid and setup a time for the next appointment.
  3. The project manager stopped by a week or so later and took final measurements.
  4. The installers came and put the windows in. Before they left I had to sign paperwork that said everything was complete, except there was a broken part on one of the outer window panes so I had them make a note about it.
  5. A woman called me from Home Depot to schedule a time for the new window pane to be installed to fix the cracked one.
  6. The project manager (from step 3) came back and fixed the window.
These pictures are seriously old. Here's a view of the old aluminum living room window (taken while standing in the dining room).


Another view of the same living room window above. 


This is the old aluminum bedroom window. 


My view out of the big bedroom window. 


A better view of the old aluminum window in the bedroom. Notice the two white vertical boards that helped to frame the window - they're gone now. 


This shot shows you how rotted the wood is from water leaking through the window. 


Here's a peek at the old bathroom window (original to the building, I think) before I took down the stained glass window that came with the place. 


And the bathroom window with the stained glass removed, before it was replaced.


The open cavity of a the bathroom window. Welcome, spiders! Welcome one and all!


This part was kinda cool, when they removed the bedroom window. Such a big open space! I felt like I lived in a treehouse. 


And after the windows were installed!


Another one of the bedroom. 


And the bathroom. 


Choosing the style of the windows was difficult for me. I ended up considering what other people had done in the building (by walking around outside). It seemed to me like most people had chosen a large "empty" window in the middle of the big windows with the little "paneled" windows on the side. (They're just one big window, really.) The big windows are called Sliders. Little hamburgers! AHEM I mean little veggie burger sliders!

From this website


Oh my GOD is that a pineapple on top? I think I just barfed. I can hardly stand to look at them. Anyway, maybe you thought of this kind of Sliders instead:

Sliders, TV SHOW!

I know I thought of eating veggie sliders while watching Sliders. But that's just me. WHAT WERE WE TALKING ABOUT?!

Oh, right. Windows. The bathroom window is not a slider, it's known as double-hung. I think because it opens from the top and the bottom. But why I would open it from the top, I don't know because there's no screen on the top half. Spiders, anyone?

Overall my impression with Home Depot's window installation process was good. They are REALLY pushy when it comes to selling the windows, and then they take a long time to install them. But they are honest about the long wait time. So you know what you're getting into, at least. I wasn't mad about the broken part of the window since they eventually fixed it. I just don't get weirded out about stuff like that. NOW, if I had some strange contractor install them from nowhereville I probably would have been nervous that he wouldn't have come back. But since it was Home Depot I felt like I could count on them. Is that weird? Anyway it all worked out in the end. Also their prices were better than the quotes I received from contractors. Thousands of dollars better. And I found my contractor-quote-people off Angie's List. Interesting, right?? The installation guys were better than the sales/contractor/measuring people from Home Depot. They were nice and pretty fast, I thought. One guy kept having fights with his girlfriend on his cell phone, but we all have bad days. Whatever!

Now that I've had the windows for months and months, I'm still happy. And I gotta get those other three replaced. The sound difference is incredible. When I'm in the dining room (no windows replaced) I can hear every sound from the building across from me. When I'm in the bathroom (window replaced) with the door closed, the sound disappears.

Monday, January 30, 2012

Mark 'Em & Cut 'Em

As you can probably imagine, everything does not always go as planned in the world of DIY. For example, I did not plan on washing my tile marking pencil with a load of laundry and effectively destroying said laundry in the process.


But, what can you do? Just scrub the gooey black marks off of your dryer and try again.

So that lesson brings me to better news, which is that I've slowly but surely been having all of the difficult tiles cut by various Lowe's employees. I've been having them cut in batches because quite honestly, I get tired of standing in my kitchen and measuring. I want RESULTS! So I measure a little and have a little cut. Take home. Install. Repeat. Repeat again. But I'm finally on my final batch, which I intend to take to Lowe's tonight after work.

Oh and also, actually acquiring more tile of the same kind has been a bit of a struggle. Since I bought every piece from the Lowe's closest to my house, they haven't bothered to restock. So I've been getting more tiles when I stay with my boyfriend in his city.

After this last batch is cut and installed, then it is time to move on to the grouting! Here are my tiles, ready to be cut:


By the way, if you want to DIY anything, I am always all for it. However, in my experience, the self tile cutters do notttttt work. This is the one I tried out:


I purchased it for $20 at Lowe's. Yeah. I took it back shortly after breaking approximately 10 tiles. So that just goes to show, sometimes it's better to leave things to the professionals!

Thursday, January 19, 2012

Keeping the Bugs Out

I don't know if you're going to forgive me for this:


EEEEEK! Well, just be quiet because I'm the one who had to search through like one-hundred bug pictures to find this one for you!

Honestly I have no idea what kind of bug that is up there. But I was getting these huge bugs in my house that can only be described as gigantic gray stink bugs. With backs that look like humongous shields. So I hereby name them Giant Shield Bugs. Giant as in larger than my thumbprint. And I was pretty sure they were crawling in from underneath my dining room windows where the old windows hadn't been replaced yet.


So my courageous and awesome boyfriend caulked the entire apartment. I am not even kidding. He did this to every crack between the old-fashioned picture molding and the ceiling, the baseboard molding and the floor, and around the windows. Basically around every single strip of molding. He did all of this and it wasn't even because I was screaming about bugs (I honestly wasn't). Although I have screamed about bugs in the past. But I reserve the screaming for cockroaches.

Sadly (very, very sadly) I did not snap a picture of him doing all of this work. But this is the sort of gap he had to contend with (this is the dining room):


Yikes!

Some of the cracks, underneath the windows in particular, were so wide that he had to use great stuff first and caulk second. 

I just want to say that I have not seen a prehistoric dinosaur, I mean Giant Shield Bug since. Hooray!

(Now please look away while I furiously knock on wood.)

Friday, January 6, 2012

Installing Countertops!

(You can also read part one and part two.)

So after we cut, sanded, Waterloxed, oh yeah...and demolished, it was time to install the countertops on both sides of the kitchen.

The kitchen is galley style, meaning that it is just a straight line with countertops on either side. Here's the old kitchen:


This is the view straight down the middle.


Here we have the left side with the stove, dishwasher, and sink.


And last, this is the right side which houses the microwave. This side of the kitchen is narrower and the countertop is only about 16 inches deep. You can also see a bit of the doorway into the living room at the very right side of this picture.

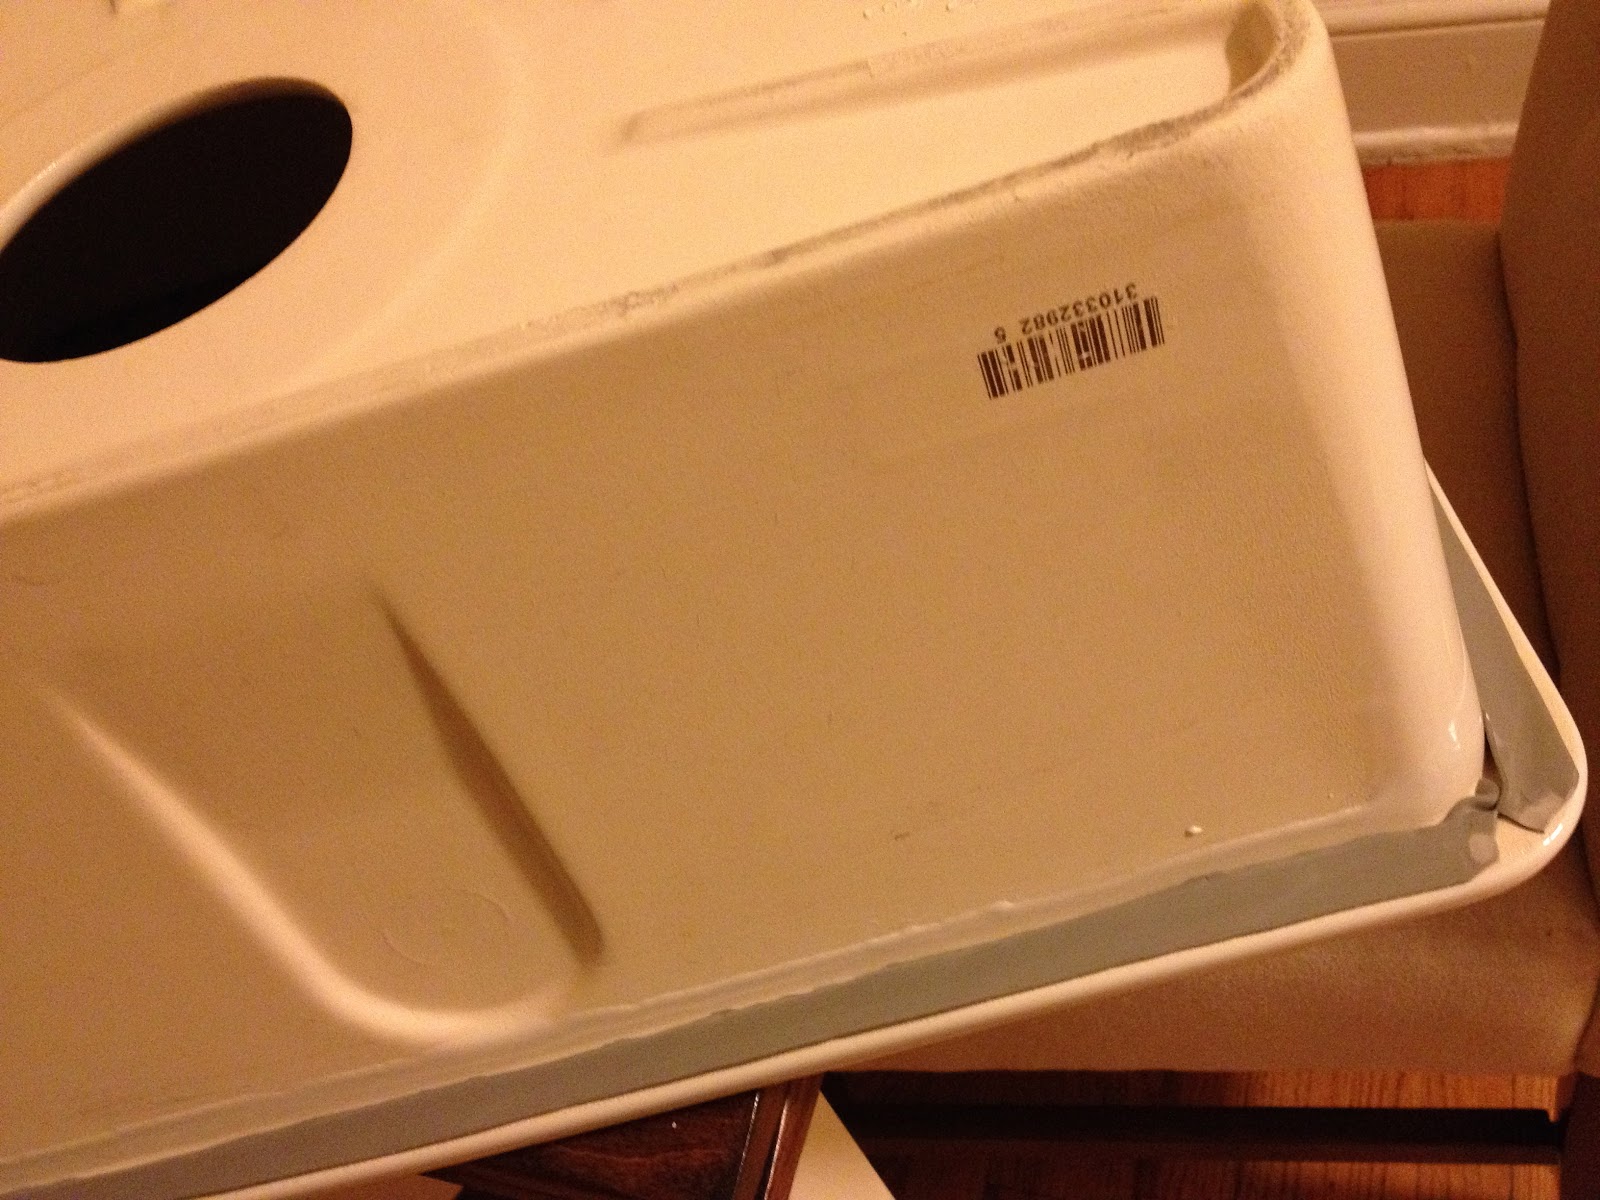
Before I started planning the kitchen, I knew I wanted wood countertops with a white sink and a subway tile backsplash. I found the perfect sink at Ikea for only about $100:


As far as the backsplash, I was inspired by kitchens like these:


So I knew I wanted to use subway tile. I briefly considered this light aqua tile at $8.97 per square foot:


But I ended up going with the much more affordable tile below, which was larger and solid white, and rang in at only $2.97 per square foot (and I received 10% off each broken sheet):


(It's sitting on my lap in the car in this picture and it's facing the wrong direction.)

As far as the kitchen faucet was concerned, I knew I wanted a double handle faucet with a long, elegant neck and a side sprayer. I think faucets with a single handle and/or built-in sprayers are too modern for my old, old condo. So I went with the Harbor 2-Handle High-Arc 4-Hole kitchen faucet by Price Pfister for $98 (it says it's in stainless, but it looks nickel enough for me, in oder to match the hardware on the cabinets):


So after the tile was selected and the faucet picked out, it was time to install the countertops!


Here I am, unscrewing the old countertop. (What a lovely uniform I'm wearing there, right?)


And here is a shot from underneath to illustrate what I was doing. I managed to remove all of the countertops on both sides without removing any drawers, which saved a lot of time and effort. 

I know you want to see those yummy gray laminate countertops one more time...


In that picture, I'm trying to bake rolls for the work holiday party in a partially demolished kitchen. Fun! And here's the wall after I destroyed it by not very carefully hacking off the old tile.


I think I used two full buckets of spackling. And now, the moment you've been waiting for!


Oooh! Pretty. Except the backsplash is still missing. But the wall does look a lot better since the spackle had dried at that point. And now, the other side.


This is a picture of the sink before I knocked the tile off of that side of the wall. Just ignore the rogue painter's tape.


I was more than happy to remove this gross old sink and faucet. I left it by the side of the road and it was picked up by someone within a few days (and not by the garbage men).


There was a TON of spackling that had to be completed on this wall. It was in terrible shape. There was also some concrete patching to be done. 


Yuck. I may or may not have cried for a little bit during the wall repair process.


And, voila! The tile is gone, the wall is repaired, and the hold for the sink is ready to be measured, marked, and cut. My mom and I had to leave while the sink hole was being cut because we were freaking out. True story. Do not cut the hole too large! You can always recut! If you cut too much you can't take it back! You get the picture. When we returned, the cut had been made by my boyfriend and step dad. Whew. I am all about girl power (duh!) but I am definitely glad I didn't have to make that cut.


The faucet installed and the sink hole completed!


The weird tape stuff from Ikea that I was instructed by a small white booklet to put around the edge of the sink before laying it down.


I tried a ton of things to get the kitchen faucet to work. Eventually I gave up (after crying like five times) and somehow my boyfriend fixed it with plumber's tape. Wow I am starting to sound like a big baby...


However, this is all my doing! The backsplash! HOORAY! I still have a few pieces here and there that involve some seriously difficult cuts. I'm hoping to have them done by a professional with a big saw at Lowe's or Home Depot sometime this week.


The backsplash is growing....


And growing!


But it's still not done. It's getting there though. Tiling is easier than I thought it would be. I probably should have used those little tile spacer things, but I didn't. Oh well, I never said I was a professional! I have a full time job! 

Anyyyyway, the next update should be the completion of the backsplash. Plus I have to paint. I decided on light tan. Think of toasted bread. Toast. I'll be back soon!